
Oops… we did it again! If you’re reading this, it’s because you saw our very exciting news about Pixotope Pocket, our new mobile app now available exclusively as part of the Pixotope Education Program.
Pixotope Pocket puts complicated camera tracking technology in the palm of your hand - ushering in a new era of immersive content created with virtual production. Now it’s easier than ever to get hands-on experience with augmented reality (AR) and virtual studio (VS) workflows - these techniques can now be used anywhere a smartphone can go. Most importantly, it gives aspiring virtual production professionals what they need most: easy, unfettered access to real-world tools without the need for a fully equipped media studio.
Before you start there's one thing to consider: Set up your scene! Where are you shooting and what do you want to create? These are important questions to ask yourself before you start shooting - but they’re not mandatory! Creativity is all about experimentation, something which Pixotope Pocket is particularly adept at.
Here’s how to get started with Pixotope Pocket.
Step 1: Download Pixotope Pocket from the iOS App Store
There’s no cost to download, but Pixotope Pocket is only available to Pixotope Education Program partners – you’ll need to get in touch with us for access. You will also need Pixotope Graphics up and running on a local PC. It’s important to note that your phone and your PC must be on the same network!
Step 2: Configure Pixotope Graphics on Your Render Machine
Open Pixotope Director where you will see a list of shows that you already created. Create a new show for your Pixotope Pocket project by linking the appropriate project to the show. If needed you can download the Pixotope Mascot Example Project from the Pixotope Cloud, which you can then link to the new show. Click “Create a new show”, choose "From existing project” and set a name. Then choose the location of your project and select the project you want.
You’ve now created a show, launch it by clicking "Open" to the right. Then go to "Setup" > “Configure” > “Camera Tracking”. Create a camera system, name it, and make sure to set the camera tracking protocol to Pixotope Pocket.
Next, route the camera system in "Setup" > “Configure” > “Routing” using the “plus” sign in the upper right-hand corner.
In the expanded camera item double-check that the input is set to “SRT” and the mode to “Listener”. The Pocket tracking protocol should have set these automatically.
The camera’s resolution and frame rate have to match Pixotope Pocket settings, by default it should be 1080p resolution and 30 fps.
To complete the next step make sure to note your camera’s port number in the expanded camera item and your machine’s IP address which is visible on top, next to the machine name.
Now you’re all set. Go back to your show via "Show" > "Launch". If you want to keep editing and testing the scene you have to launch it in Editor first. The final viewing, though, should always be launched live as it has better performance and render quality. So next, launch the level in Editor.
If you're creating an AR scene you will have to make sure that AR is enabled. In Editor go to “World Settings”, search for AR, and check the box “Enable AR”.
Step 3: Enter the IP Address of Your Render Machine
Open Pocket on your iPhone and go to settings using the cog icon. Under “Connection settings” enter the IP address of your PC into the “Send to” field. This action is a simple, self-explanatory step, but it’s essential. It ensures that the camera feed from your phone makes it to the local system running Pixotope Graphics. If needed, enter your camera system’s port number in the "Port" field.
Go to "Video Settings" to ensure that the resolution and frame rate match the configuration in Pixotope Director. Tap the cog icon again to leave settings.
Step 4: Camera Tracking Calibration
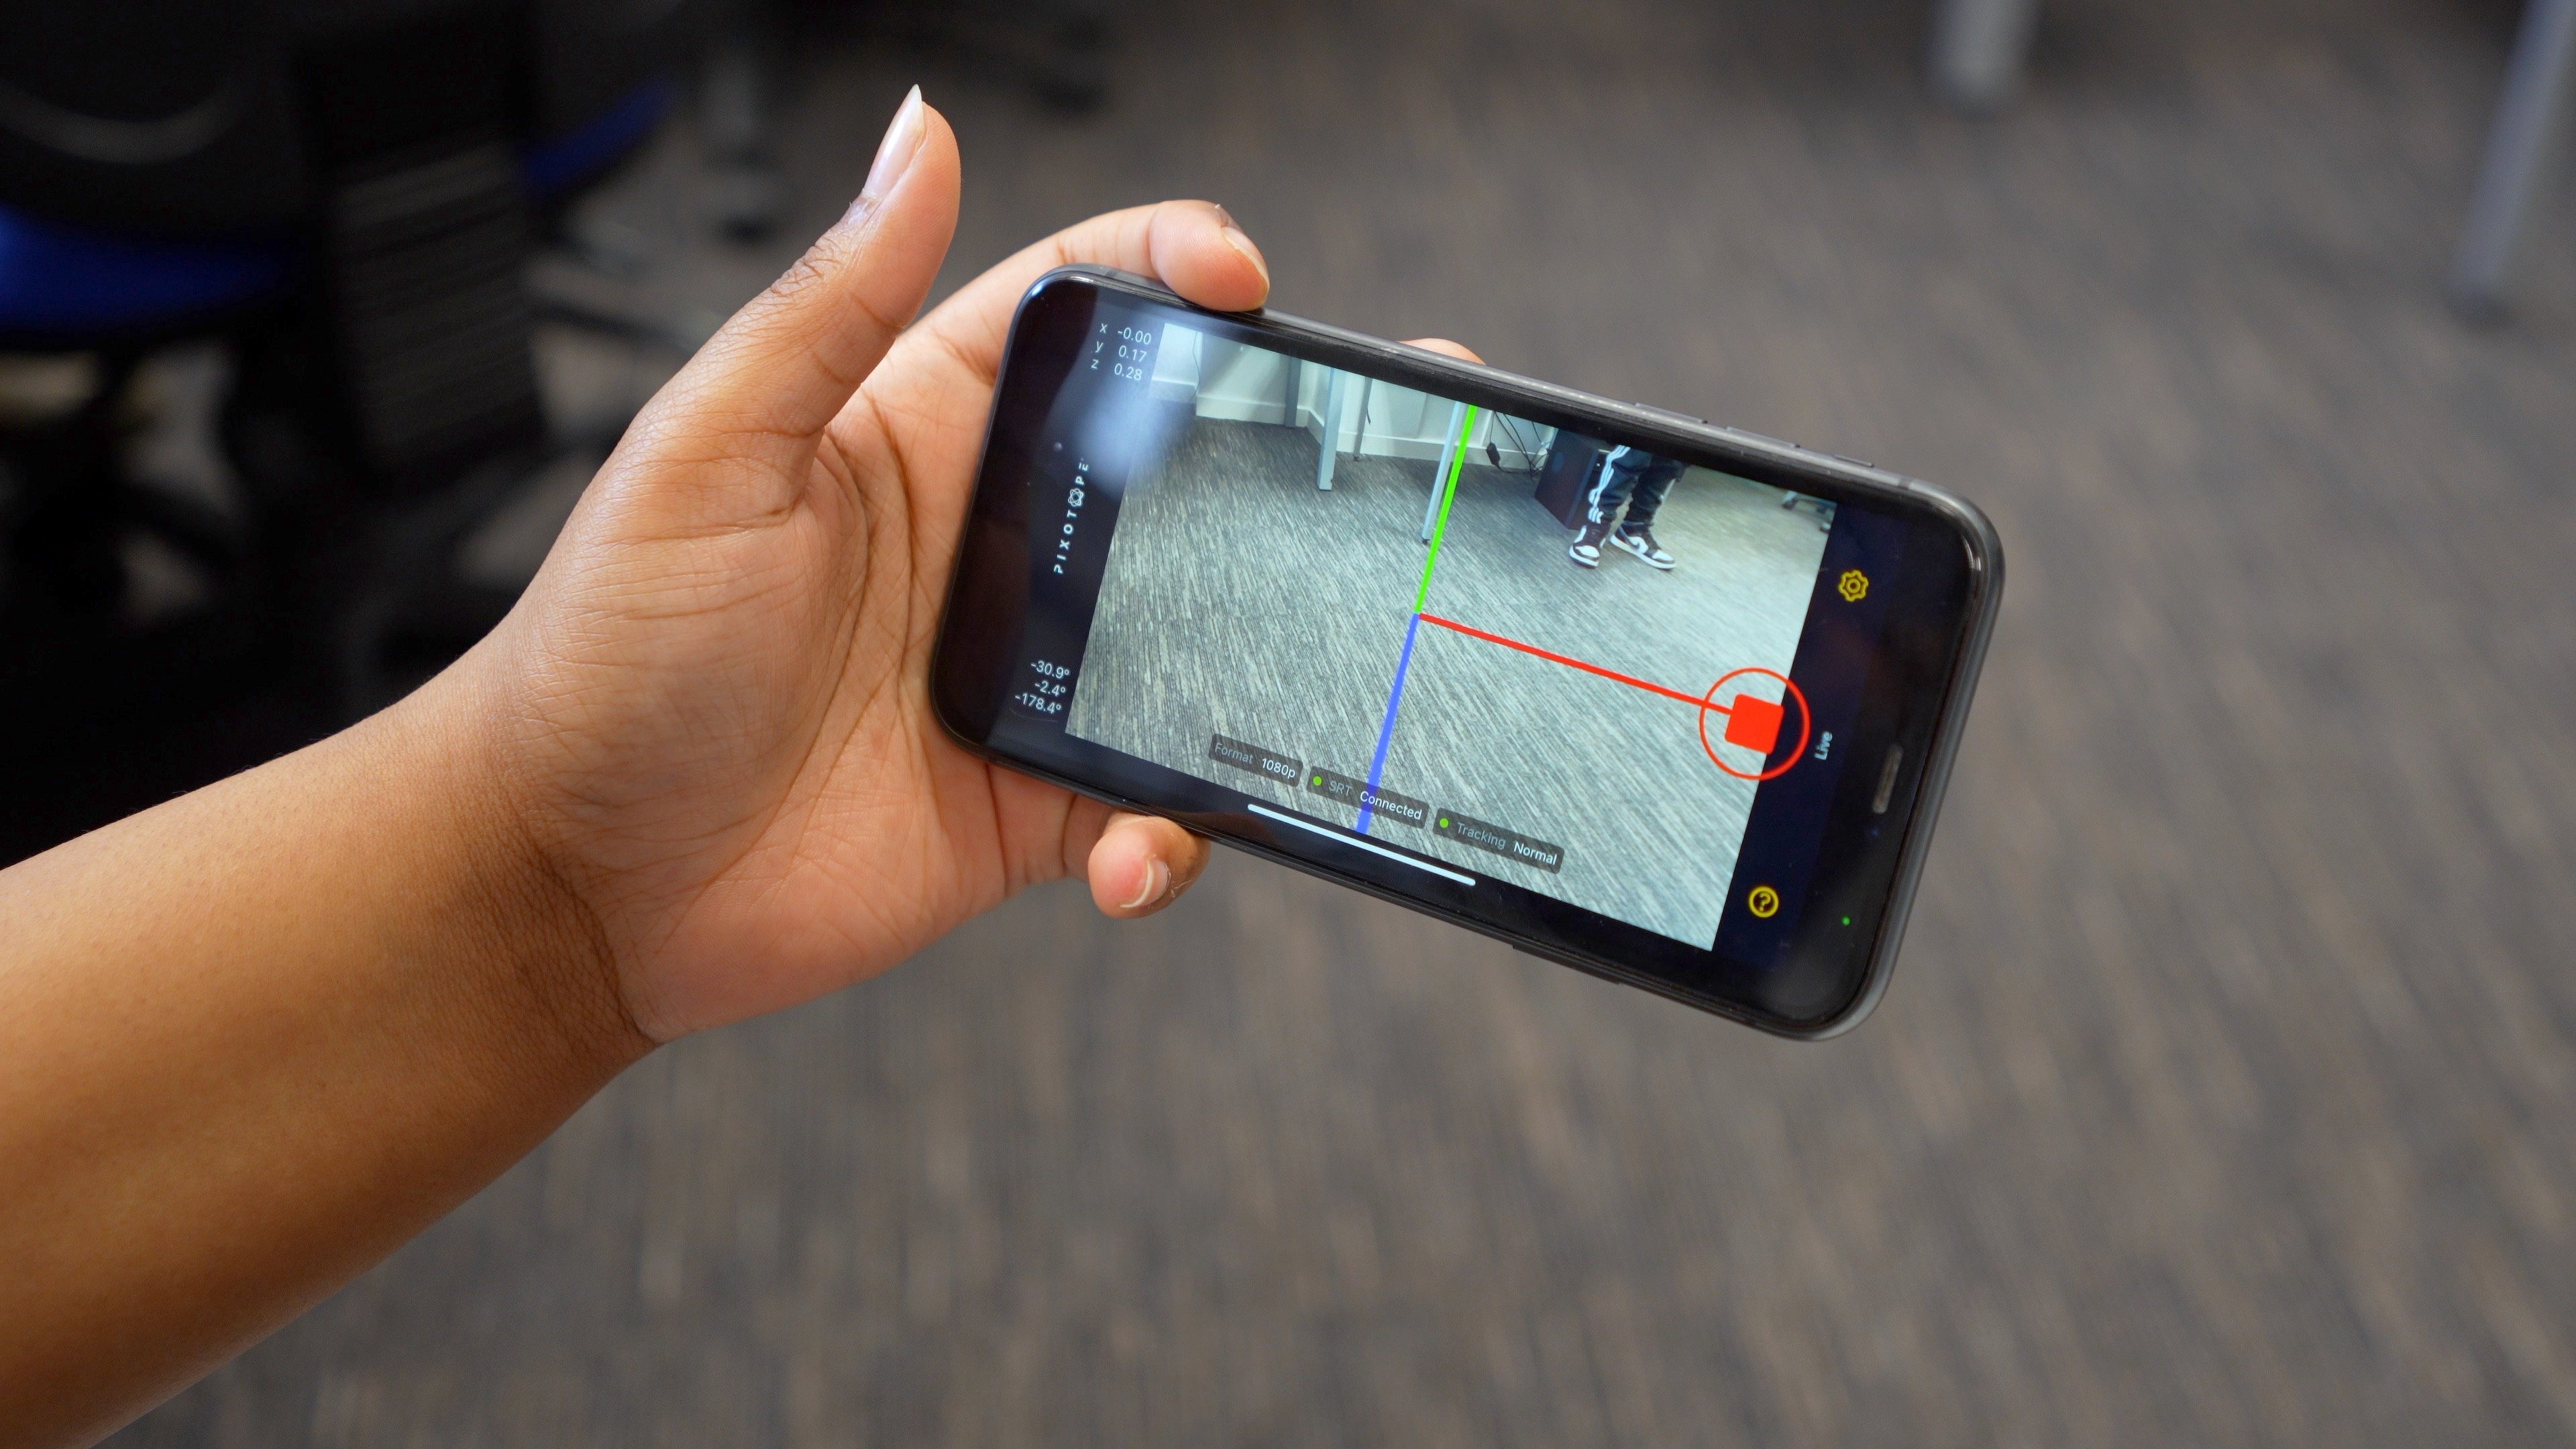
Camera tracking is the glue that holds virtual production together - it’s what merges the physical and virtual worlds together for the awesome final product we’re all after. Pixotope Pocket makes camera tracking calibration easy, it’s just a matter of “explaining” the depth of your scene to your phone. By tapping on the home screen of your iPhone you can set the origin point - the intersecting red, green, and blue lines - and align it with your scene. Once calibrated, your phone will know where to place the AR objects in your scene.
Then press the big red button and check the status of your SRT and tracking connections, both have to be connected which is indicated by a green dot.
Camera tracking makes scenes like the above possible. Notice how the camera moves around the room while Dot remains grounded in the same spot.
Our South Korean partner DongHwa testing Pixotope Pocket with our company mascot Dot.
Step 6: Stream Your Camera Feed and Add AR Elements
Now for the fun part! Once you’ve pressed the red button and your connections are established, you start streaming and your phone’s camera feed will appear in the Pixotope engine on your PC. If you work in Editor you will have to press the “Play” button on top of your scene for the stream to come in.
Now, you’ll be able to add your AR elements. (You can control the AR elements by using the Control Panel. Launch the Control Panel from the launch panel under "Show" > "Launch". ) Whether that’s inviting Dot into your dorm room, or replacing it with an entirely new environment is entirely up to you - the sky’s the limit!
Join the Pixotope Education Program
We can’t wait to see what you create. For more information on the Pixotope Education Program and how to join, contact us.
For those already in the program, don’t forget to post your creations to social media and tag Pixotope on YouTube, Twitter, Instagram, LinkedIn, Facebook!
COMMENTS